
For our anniversary in February, my mother (knowing that I love to bake and that my hubby makes homemade pies) bought us Pocket Pie Molds from Williams Sonoma. I had never seen such a thing before and I believe my first reaction was more along the lines of "What in the heck is this thing?" than anything else. But with it being Pi Day and all, we simply had to try them out.
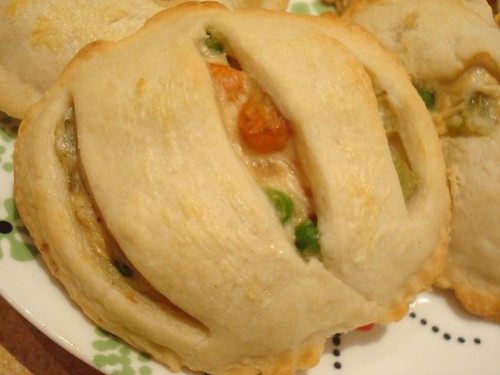
The basic principle is easy as pie (hah!) but it does take some practice to get it just so. We tried out the pumpkin, heart, and star shapes with both Chicken Pot Pie Filling (shown here) and Red Berry Pie Filling. This tutorial shows the pumpkin shape, but the same principles apply to all three. The only real difference we noticed was that the stars (due to the shape) end up being pretty much all dough at the points.
Come inside for picture perfect pocket pies.
Step 1
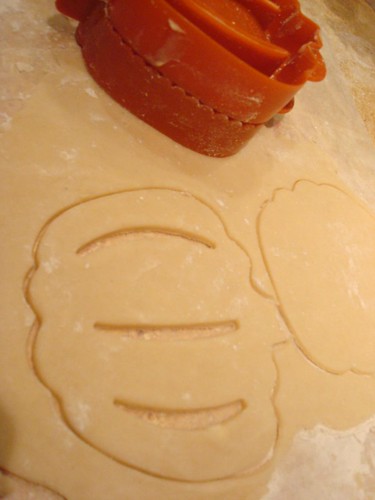
Use the pocket pie mold to cut your dough. (We used this perfectly flaky pie crust recipe.) Note that one side will have your vent cut outs and the other does not. If you are baking them (like we did) you will need one of each side. If you plan to fry them, you want two of the side without the vent.
Step 2
Open your press and flour it.

Step 3
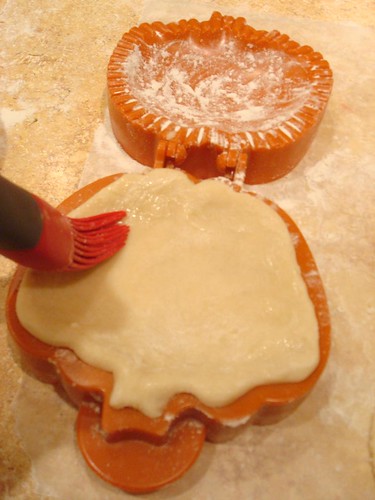
Place your piece without the vent in the half of the mold without the crimping features around the edges. Try to place it as much in the center as possible. Nudge the edges of your dough back so that it sits about halfway between the depression and the edge of the mold. (This will help the dough not the squish out when you press it.) Don't worry if this makes it a little thicker in this area, this is where you are going to crimp it.
Brush around the edges with egg white. This will help it seal. (Brushing it on now prevents the filling from getting on your brush and gucking up the egg white.)
Step 4
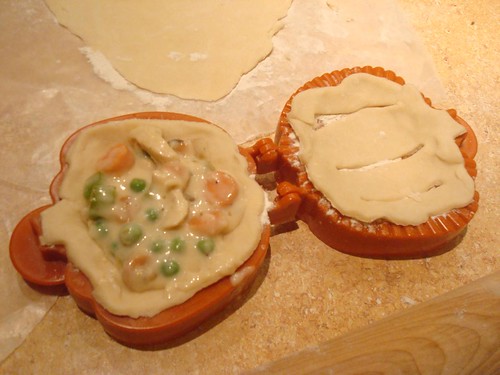
Add your filling in the depression. We found 2 tbsp to be perfect for the pumpkin and heart shapes, where 1 1/2 tbsp was better for the stars.
Step 5
Place your second piece of pastry (the one with the vents, if you are baking these) on top of the filling. Center it as much as you can and lightly press around the edges to ensure the dough is touching. (You will notice that in the picture above, we put it in the other half of the mold. Do not do this as the dough tends to flop about and make things difficult. Learn from our mistakes. : )
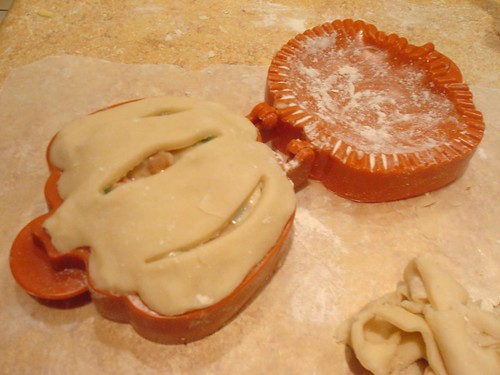
Step 6
Press very lightly. It works best to use a slow, steady pressure. You don't want to squish it all the way down (you just want to crimp the dough, not squish it into nothingness!). You can press it, open to check, and repress if it doesn't look crimped enough.
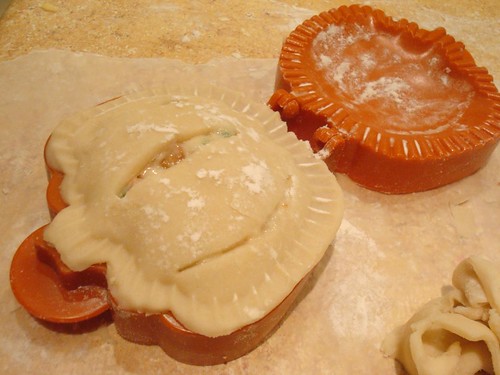
Step 7
Voila! See the pretty creases? This is what you are going for.
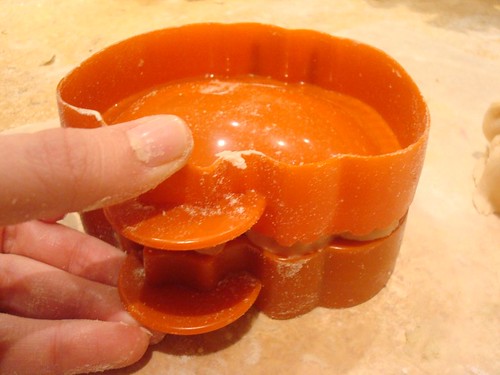
Step 8
Remove from the mold and place on a lightly greased baking sheet (or to one side if you are frying them). The best method for removing them is to open the mold and flip the pie out into your other hand. Note that if it is vented, it will leak through the vent onto your hand, so be quick! : )
If the pie sticks, run a rubber spatula under the edge of the crimped section and try again. Generally the flour has worn off the crimped section and it is sticking there. If you want your pies to brown nicely, brush the tops of them with more egg white. You can also use egg white to adhere cinnamon and/or sugar on desert pies.
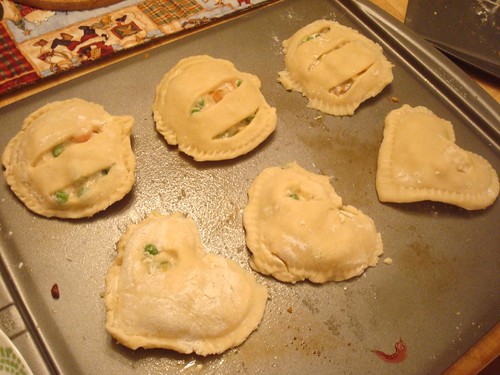
Step 9
Cook! We baked ours at 400F (on a convection setting) for 15 minutes.

Step 10
Enjoy!
These look delicious! I have a weakness for Williams Sonoma ... they make me think I really DO need every new gadget they come out with.
ReplyDeleteThey were really tasty! I try to avoid Williams Sonoma for just that reason, but my mother has recently discovered them. : )
ReplyDeleteI have seen several reviews on these cool little molds! After seeing yours -- I am sold! I can't wait to try them with my hubby. Your blog is way fun! I'm glad I found you!
ReplyDeleteHi ennui, thank you! Let me know how it goes when you try them! : )
ReplyDeleteThose are really cute and look pretty easy to use. I have a gift card to Sur La Table that is burning a hole in my pocket so I may have to see if they also have pie molds. And good for you for celebrating Pi Day!
ReplyDeleteThere are new pocket pie molds by Tovolo that just launched! You should check them out. Lovely pies you baked. My pocket pies tend to break or burst if I don't watch the oven heat carefully.
ReplyDelete