
With the front and back completed, it was time to get quilting!
The batting I had on hand was almost big enough to fit the quilt, but not quite, so the first thing I did was abutt and attach some additional batting.
Once my batting was ready, I taped my back to the (clean) floor...
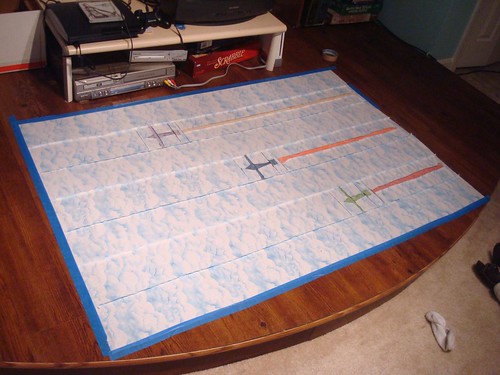
...layered with batting...
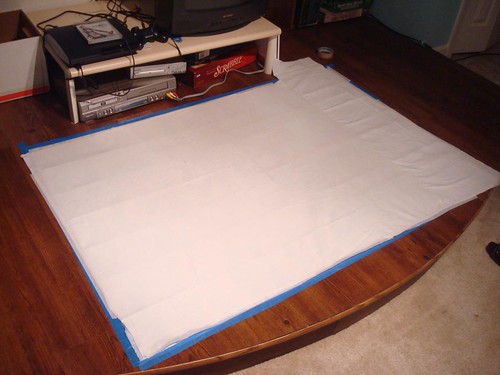
...and the top.

Taped down the top edges and pin basted the whole sandwich together.
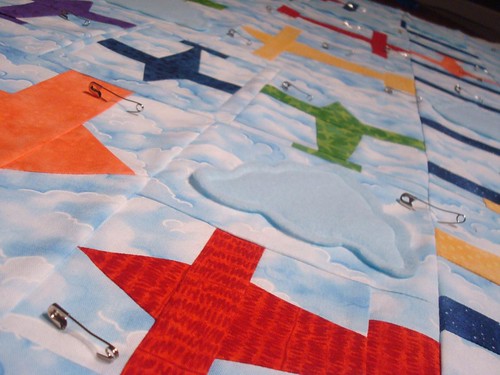
Then I pulled the tape off and was ready to quilt!
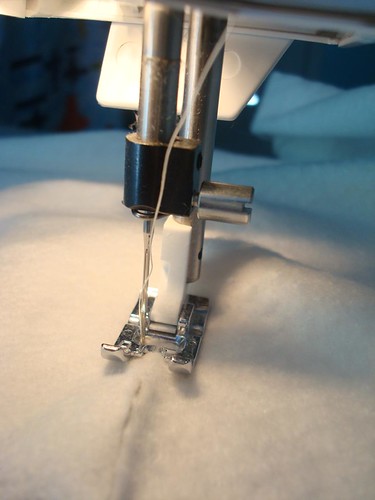
And here, here I had big plans. I had decided to quilt in big, swoopy, loop-de-loops. It was going to be gorgeous and freeform and awesome. Of course, I'd never free motion quilted before, but how hard could it be?
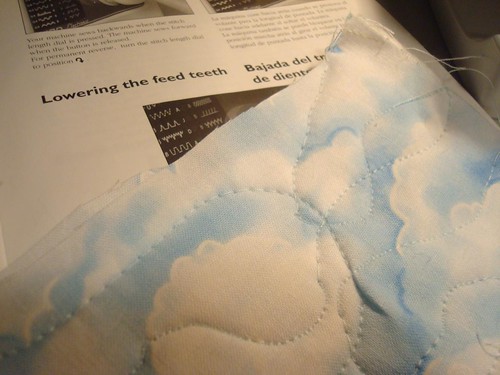
I pulled out my machine's manual, lowered the feed dogs, and quilted a sample. Not too bad.
So I jumped in.
Half a quilt later it was...awful. My stitches were jerky and inconsistent. If I left the feed dogs down, I couldn't control my speed. With them up, I couldn't control my direction well enough for large loops.
So I decided this was not the project to practice on and pulled out my seam ripper.
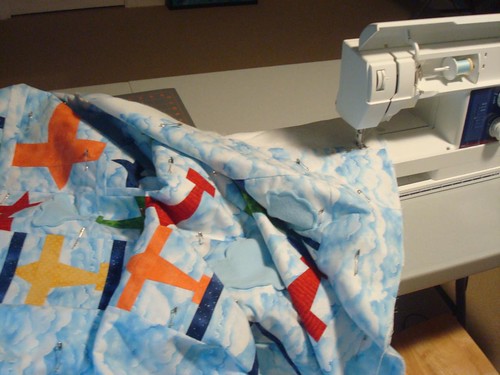
And tried again. This time with free handed "straight" lines.
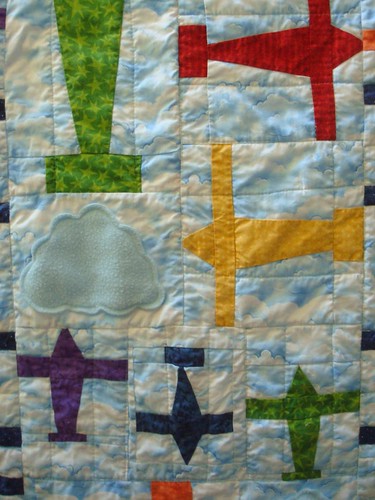
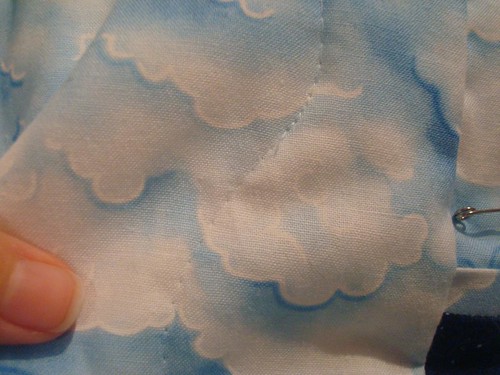
It's not going to win me any awards, but it has its own wonky charm. And heck, maybe that means it won't be "too pretty to use"! ; )
But the best part was when I discovered, upon starting in on a second spool of thread, that that thread I thought was so awesomely perfect was actually machine embroidery thread. Since I realized this well into the process and it seemed to be okay, I kept with it. Here's hoping that wasn't a really bad idea.
With the quilting done, I just needed to get it bound and labeled before I shipped it off to the happy parents-to-be!
The only thing you need to be careful with in using embroidery thread is the weight. Quilting cotton is about a 40/2 (wt/strands) so a similar weight embroidery thread works just fine. If your embroidery thread is a 60wt (higher # = thinner), you might run into trouble with tangling or breaking if your quilting stitches are fast, or the stitches might not be as sturdy with heavy use. I imagine you'll be fine with the tiny stitches you get from a straight line :)
ReplyDeleteI love the idea of taping it to the floor, what a fabulous tip! It looked like you used painter's tape?
ReplyDeleteJulie--thanks for the input! : ) I did notice it breaking more in my machine, but not so much it was unworkable.
ReplyDeleteAmanda--it really helps the pieces stay put while you are pinning! Just make sure not to pull too tight or you will have wrinkles when you untape it. I use painter's tape because I worry about damage to the table/floor otherwise. If it were a tile floor, you could use regular masking tape without worry. : )