
With the math done and fabric ironed, I jumped on in to the cutting, starting with all the plane shapes for the front.
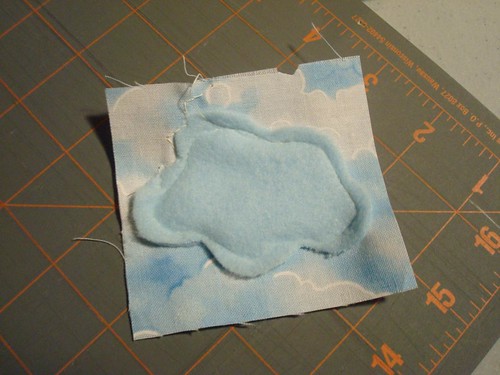
I cut the cloud pieces as I needed them, carefully sewing them onto the plane pieces. I knew when I picked the cloud fabric that by picking a directional fabric, I was committing to a lot of careful planning and matching up. I had a few cases of upside down clouds, like this one, but for the most part, my caution paid off.

I chain pieced in small batches, working with all the planes that were the same size at once.

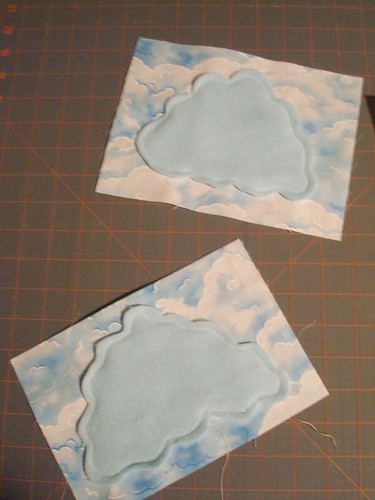
Once the planes were coming along nicely, I auditioned a bit of blue fleece for the ideal puffy clouds I was seeing in my head. It worked. : )
So I made some of those too.
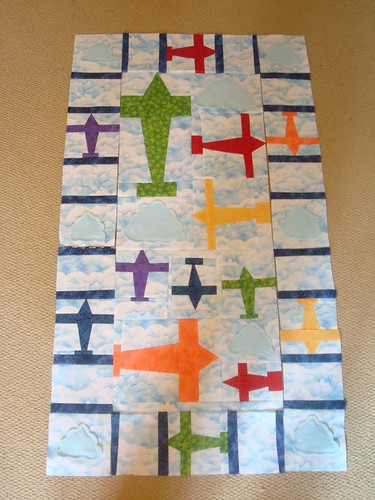
And laid out the front.

Only, I really did not like how the two red planes, both flying the same direction, were so close together. So I rearranged a bit and came up with this. Much better.

Once I got it all sewn together I consulted my plan and saw a new problem.That little red plane in the corner was now going to be right next to a red plane in the inner border.
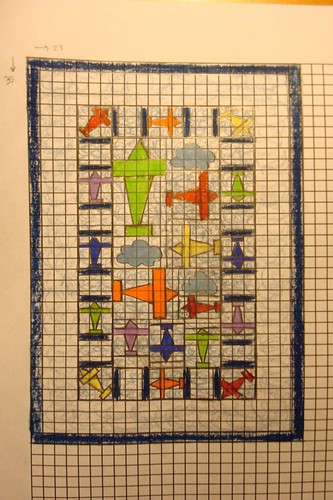
Given that I was a bit intimidated by those corner planes (they would have to be sewn on the bias to keep the right cloud orientation) and the fact that I already had all the other border planes sewn, I decided to just drop the corner planes entirely and instead alternate puffy clouds and planes. I could just squeak by without having remake many planes and the clouds would go in the corners! Brilliant!
And so that's exactly what I did.
And with the addition of the outer borders, the top was done!

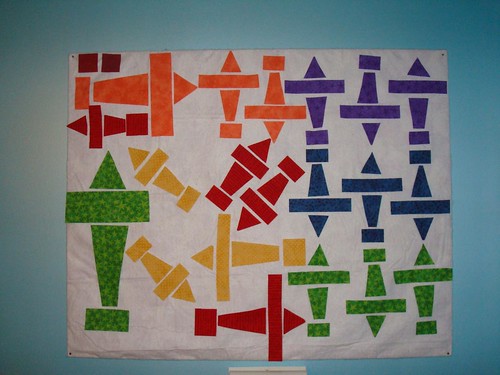
I had planned on making additional planes for the back and having a horizontal stripe of planes parading across more cloud fabric. However, my change in the inner border left me with four extra planes flying vertically. Not wanting to waste the planes (and the work!), I started playing around with them. I also had some cut strips, scraps from cutting the original plane pieces, so I decided to combine the two with the long strips being jet trails for the finished planes. I chose to pair up complimentary colors, both for the dramatic effect and the educational opportunity.
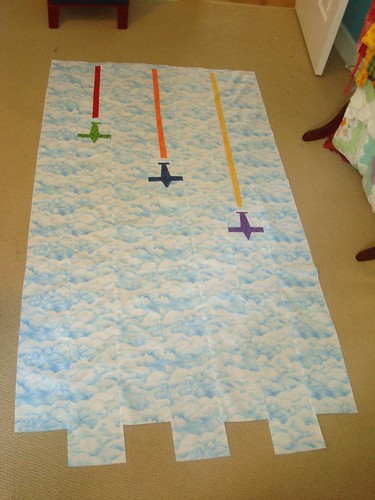
Once the back was sewn together, it was just a matter of squaring up the top and bottom so that I could move onto basting and quilting!

No comments:
Post a Comment