
On Wednesday, my mom turned 60. This is one of those BIG numbers. The kind where you really should rent a hall, invite everyone you know, and throw a knock out surprise party. Except the 2300 miles between us makes that difficult. And expensive. And while I know there is nothing my mom would love more than a surprise visit from the hubby and I, I also know that we had already made plans to have a family vacation in August. So the visit was out.
But I still wanted my mom to know how loved she is. So I thought. And I thought. And I thought. And I realized. The perfect way for her to know how loved she is, is for people to tell her. So I convinced my father to rifle through her address book and I conscripted the hubby for a late night Kinkos run. Where we found the perfect paper and made copy after copy of The Plan for Project Awesome. Each copy was a letter requesting that the receiver write my mom a letter telling her why she was special to them.
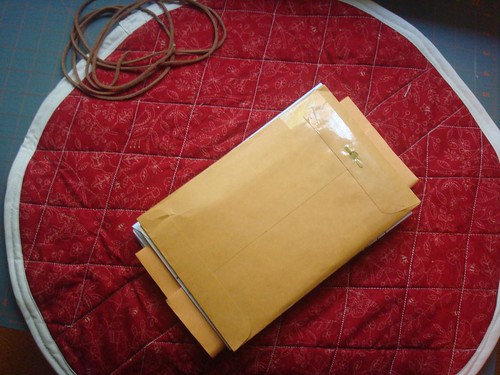
On each I wrote a little note and in every envelope I tucked a pre-addressed stamped envelope for them to return their contribution. In every one, I asked them to tag any others who might be interested. And then I waited.
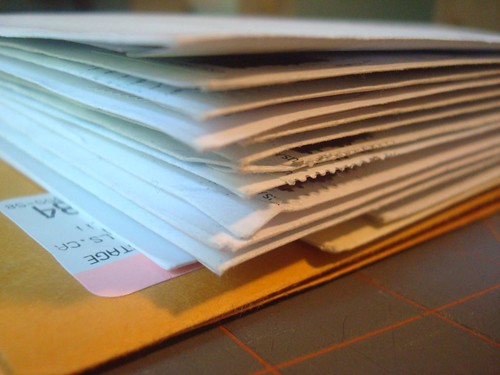
I sent out 35 requests and received about 25 responses, though there were more letters than that as one enterprising friend managed to sneakily get letters from a whole group and ship them back to me.
These people rock. Every single one of them. For taking time out to sit and write a letter. To take the opportunity to tell my mom what she means to them NOW, while she is still kicking and awesome and not waiting for her (hopefully very far in the future) eulogy.
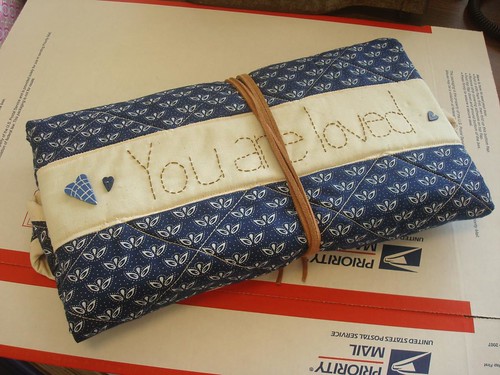
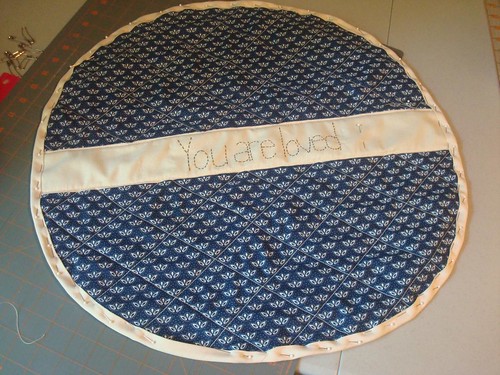
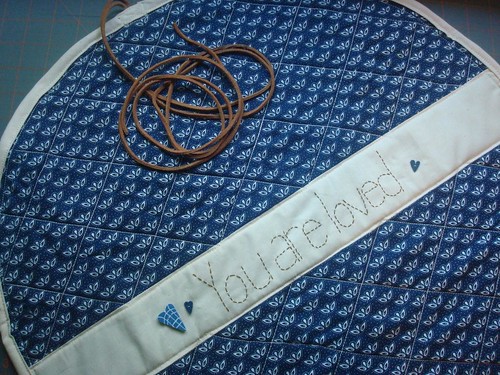
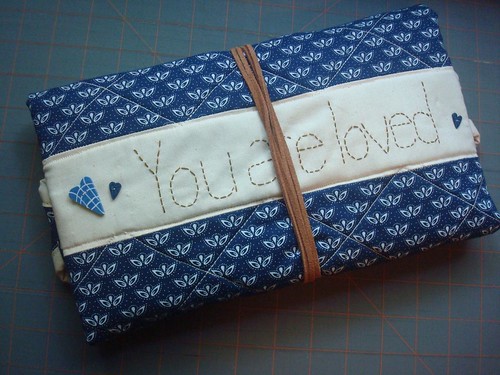
Quilter that I am, I couldn't stand to stuff all these precious letters in just any old envelope. They, and my mom, deserved better than that. So I made a...er, well, I'm not sure what exactly. A letter holding thingy to hold the letters.
I had a vague plan when I started shopping. I found the blue fabric on Etsy. The natural and red fabrics, and the heart buttons, at my local quilt shop. The leather cording and thread at Hancock's.
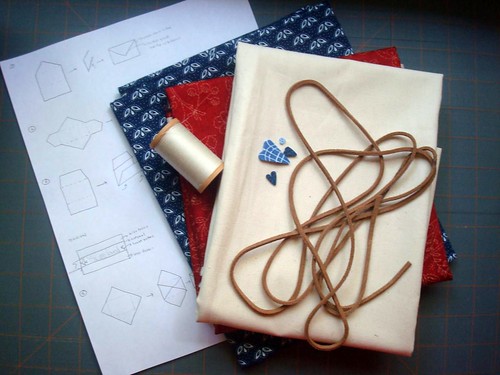
Little by little, as I found the various pieces, the final project came more into focus. When I got home I sketched and finally picked one method.
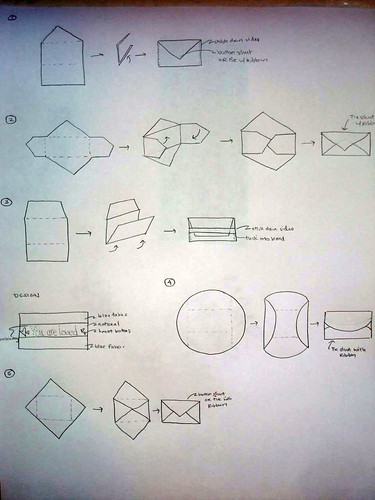
I loved the more envelop-ey looking ones but binding corners always gives me issues. So I opted for the all round one (#4) and hoped it wouldn't get to bulky.
I guesstimated the size of my pieces based on my envelopes and cut three circles (using the first as the pattern for the others)--one from my batting, and one each from the red and blue fabrics.

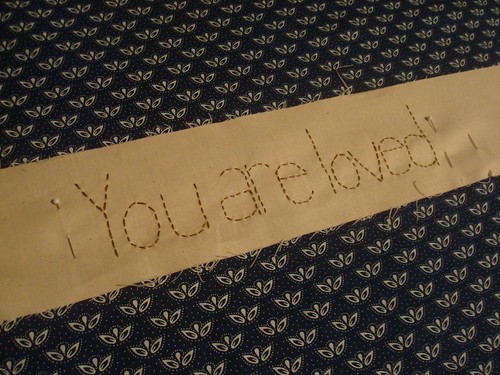
Then I cut a thick strip from the natural fabric, set some pins to show the area I wanted to stay with in and added some hand embroidery.
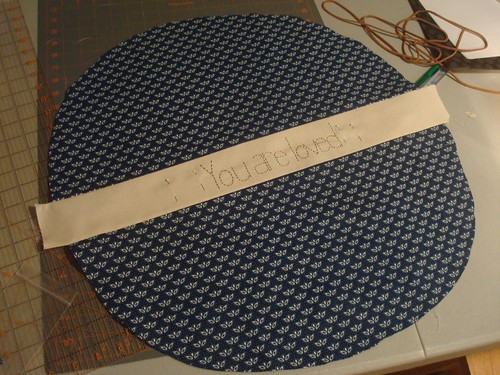
I sliced my circle down the center, took off the excess material (leaving seam allowances) and pieced in my embroidered strip.
Then I sandwiched the red circle with the blue and embroidered circle and began quilting. This is when everything started going south. First, I spent about an hour wrangling thread and tension settings before realizing that, for whatever reason, the quilting thread I had bought, specifically for this project, REFUSED to stitch properly on my machine. Gah! Giving up, I switched to an old standby that was close enough and decided to try some nice loopy hearts.
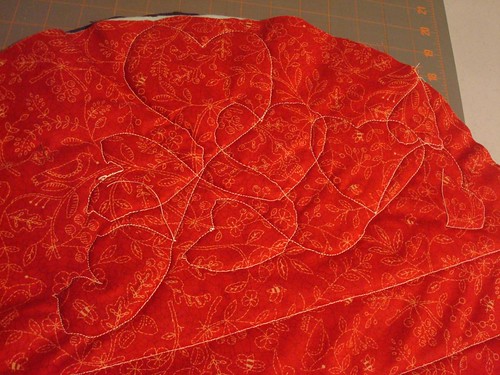
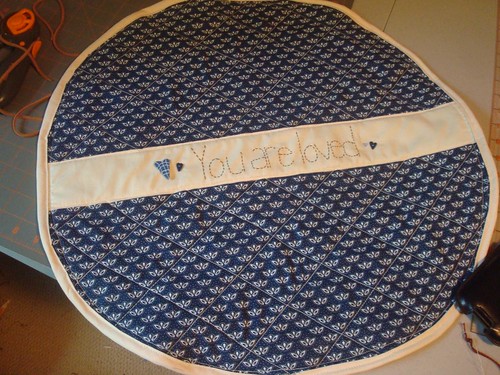
Yea...not so much. That little bit of quilting took me 4 hours to pull out. Instead I went for a nice diamond pattern. I still had a few annoying instances of the thread breaking, but overall the end result was much better.
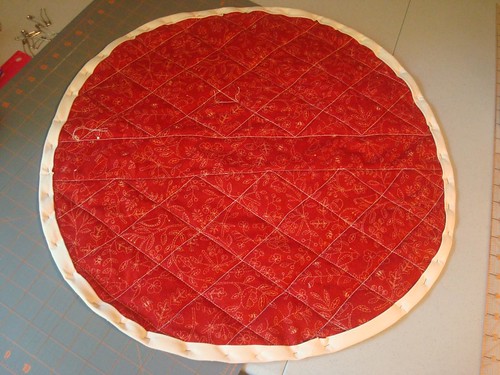
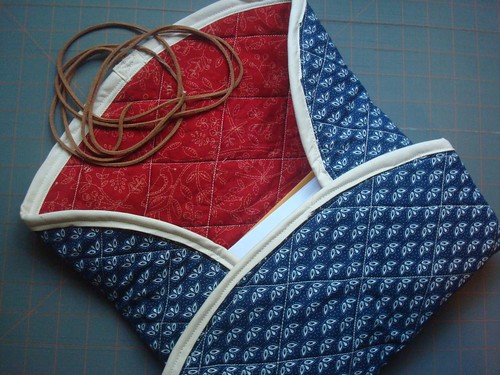
This was my first time using bias binding and since it was such a small amount, I just cut strips on a 45 degree angle and pieced them together. It worked beautifully, the fabric just flowed around the curves. SO MUCH simpler than square corners. It makes me want to generously round the corners of all my quilts.
It did take a lot of pinning though, and I realized, after my first go that it was much easier to sew if the edge was to the right of the needle--meaning the bulk of the project was shoved through the throat of the machine. Not an issue on something this small, but potentially a real pain on something bigger. I did use a double fold binding method, if I had done single fold and then ladder stitched the back, it wouldn't have been an issue. Instead, I just ended up doing two rounds to ensure that the back side wasn't "flappy".
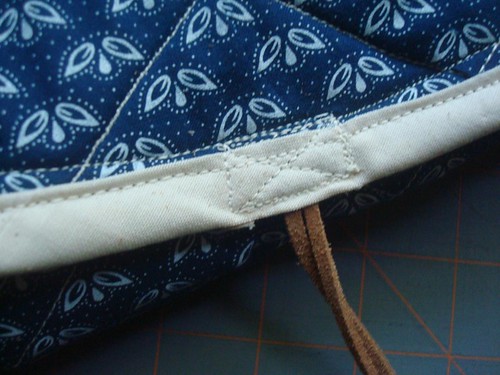
At this point, I took a small piece of leftover binding, trimmed it down and used it to capture the straps. Which I apparently only took a picture of the back of.
Once I got the straps done, I went back for the finishing touch...the buttons. I took very small stitches on the back so they aren't really noticeable and hid the knots behind the buttons. I could have added them before the sandwiching, but didn't want to worry about quilting around them.
Of course, on the very last stitch of the very last button...the darn thing broke in two.
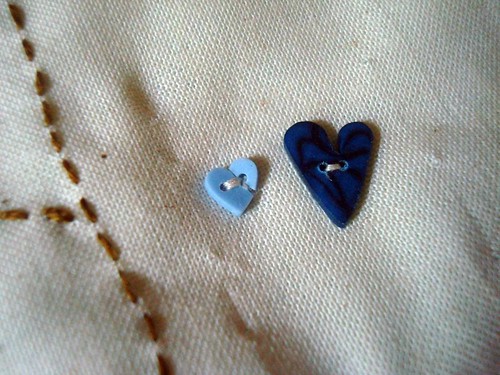
After a bit of ranting, it was decided that that button wasn't strictly necessary after all.
These give you some idea of how it works:
Step 1: Place the letters in the center
Step 2: Fold in the sides and then fold up the bottom:
Step 3: Fold down the top and tie
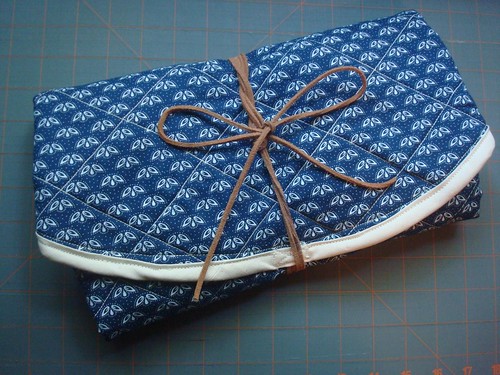
Step 4: Flip over and admire!
My dad presented it to her at a surprise birthday lunch so it's almost as good as a surprise party. : )
Love this idea. Have been dying to hear about what your mother said about all of it. Have I missed the report?
ReplyDeleteAmanda--I never did report back! Thanks for the reminder, I'll try to get that written up soon. : )
ReplyDeleteWhat an awesome and thoughtful idea for a special pressie. I bet it was a great and wonderful surprise for your mother!
ReplyDelete